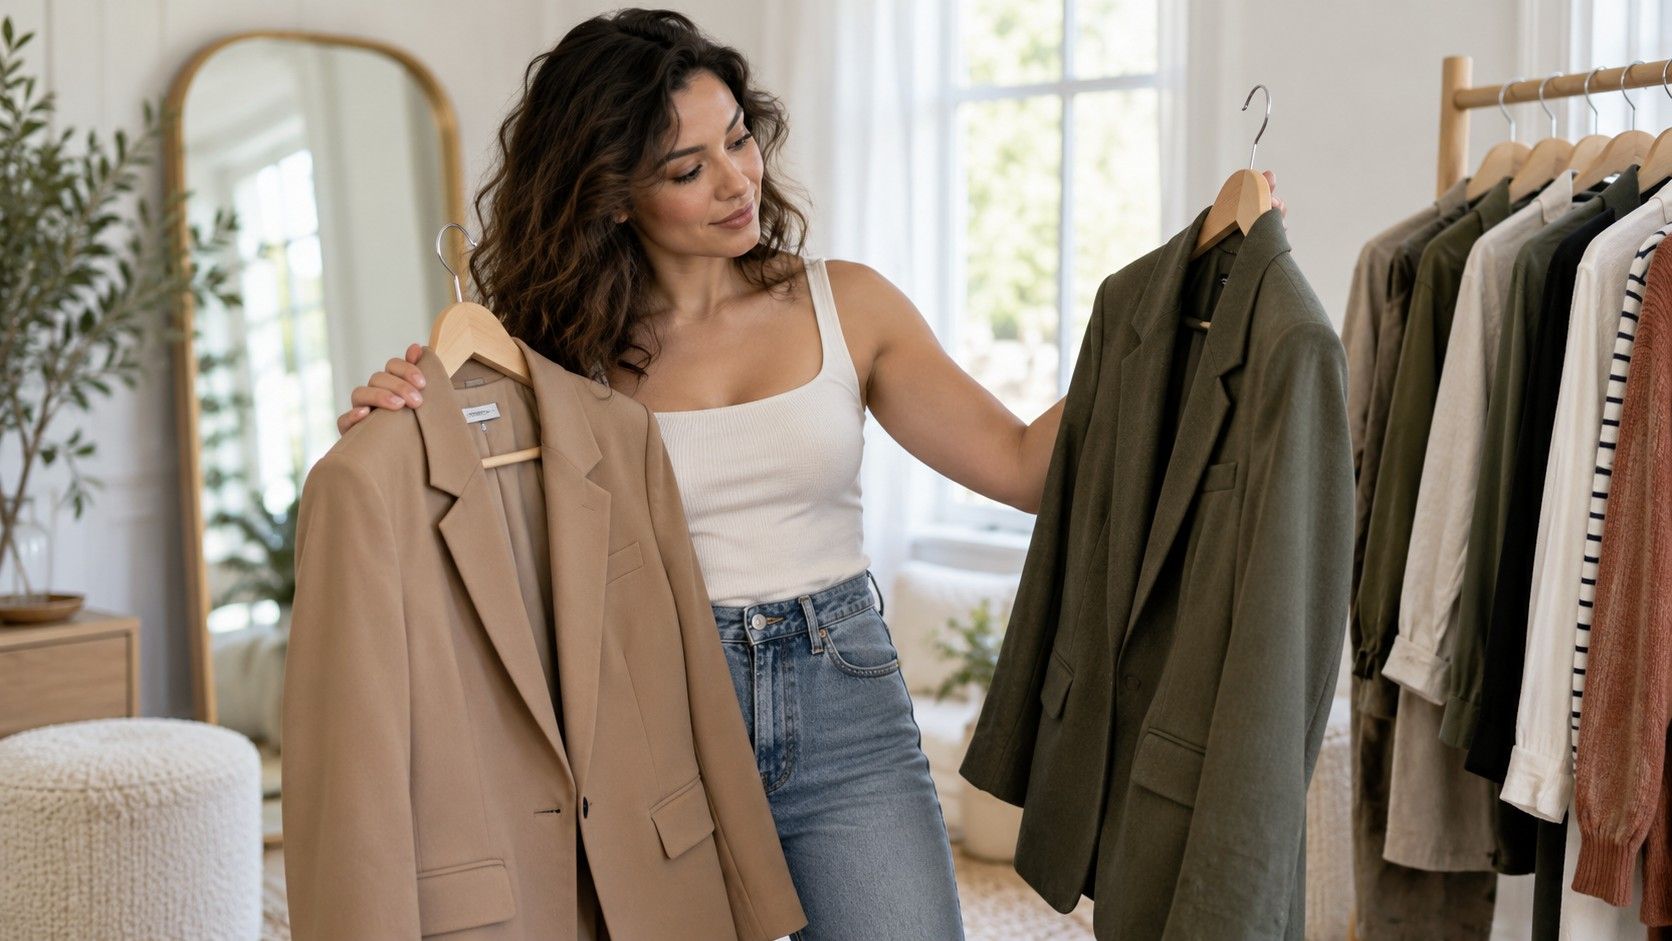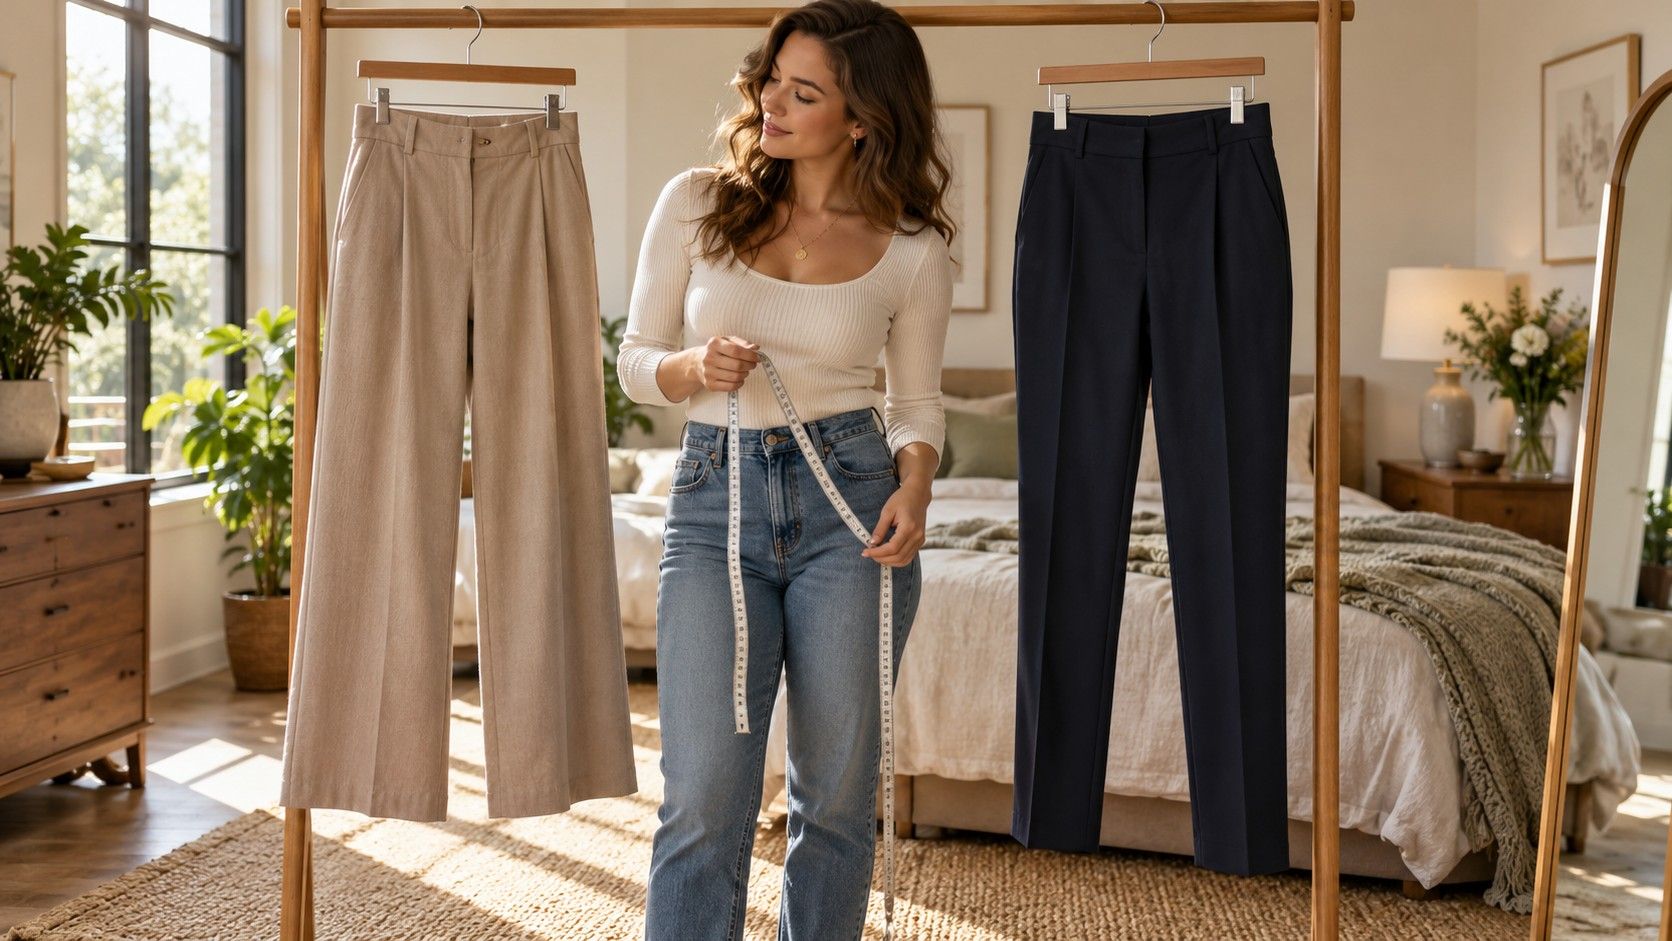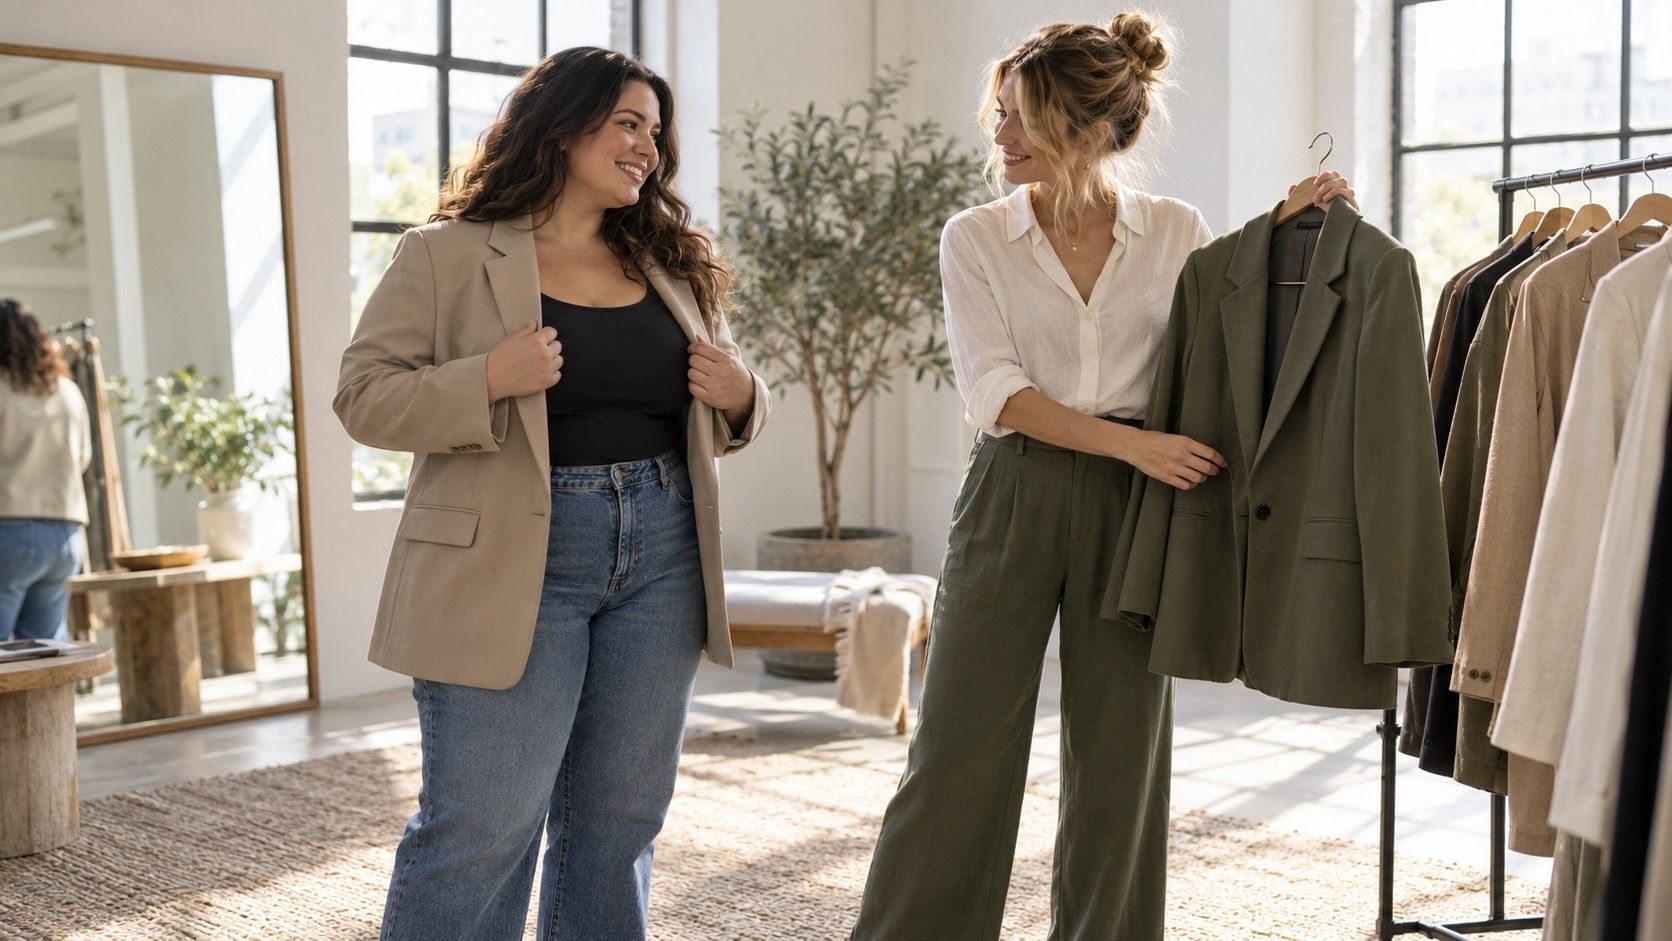
The most useful answer to how to find your body shape is often a sentence rather than a category: you prefer room through the hips, a shorter jacket, or a waistband that follows your waist. Familiar labels can help you search for ideas, but they become useful only when they explain a real clothing problem. Start with what you can observe, then take a few garments into the fitting room to see whether that observation helps.
Take measurements that are useful for clothes
Use a flexible dressmaking tape, a mirror and a note on your phone. Measure over thin, close-fitting clothing or the underwear you usually wear beneath the garments you are shopping for. Stand in your usual posture with feet comfortably placed. Pulling your shoulders back or holding your breath changes the outline you are trying to dress. There is no special pose to achieve and no preferred set of numbers.
Place the tape around the fullest part of your bust, around the waist position identified by the measuring instructions, and around the fullest part of your hips and seat. Keep it level at the back and let it rest against you without digging in. Lift the tape away and repeat each measurement. If the readings differ, check the tape position before choosing one. Record centimetres or inches clearly so that an online chart does not receive a mixture of the two.
Bust circumference is not shoulder width. A fuller bust can increase the tape reading without increasing the width across your shoulders; a broad shoulder line can do the reverse. For everyday shopping, separate those observations. Write down that jacket seams often sit inside your shoulder edge, for example, instead of trying to convert a full bust measurement into a shoulder measurement. This distinction prevents a surprising number of confusing shape results.
You may also need lengths. A waist-to-hem preference, a comfortable trouser rise and sleeve length can explain fit better than another shape quiz. Compare these on clothes you already enjoy wearing. Treat body measurements and garment measurements as two separate records: a jacket needs room to move, while your body tape reading contains no such allowance.
Compare proportions without chasing an exact label
The common rectangle, hourglass, pear or triangle, inverted triangle and apple labels describe broad visual relationships. Different guides draw the boundaries differently. A rectangle label generally suggests less contrast between waist and upper or lower body; a triangle label usually describes more width or circumference around the hips relative to the upper body. These descriptions are rough shopping shorthand, not a ranking or a requirement to alter your silhouette.
Look at the relationship between your waist, bust and hips, then compare it with what you see in an ordinary mirror. You do not need to force a numerical threshold. Ask whether a fitted shirt tends to have spare fabric at the waist, whether straight skirts need more room through the seat, and whether jacket shoulders fit before the front can close. Repeated clothing experiences give the measurements context.
A front view cannot show everything a garment needs to accommodate. Two people with similar front outlines may need different room at the bust, back or seat. Clothing wraps around a three-dimensional person; a drawing of a fruit does not. If your tape readings and mirror impression disagree, keep both observations rather than declaring one wrong. One may help with circumference and the other with the visual line of an outfit.
Photographs can be useful for comparing clothes, but distance, camera angle and posing change proportions. If you use them, keep the camera position and your stance consistent and avoid a close wide-angle view. There is no need to upload images to establish a label. You can do the entire exercise with your own notes and a few clothes at home.
When two shapes seem equally plausible
Being between categories is ordinary. Suppose your hips measure somewhat larger than your bust, while your shoulders look similar in width to your hips. A tape-based tool might suggest triangle, while a visual guide suggests hourglass or rectangle. Instead of repeating the test until one wins, ask what decision you are making. A shoulder-width observation may matter for a blazer; hip and waist measurements may matter more for a woven skirt.
Keep two working descriptions if they help. “More waist shaping in trousers, relaxed room across the upper back” is already specific enough to shop with. It does not need to be translated into a single permanent identity. A shape category that helps with one garment can be unhelpful with another because the garment starts from a different pattern and uses different fabric.
Height and torso length also sit outside many simple shape labels. A dress can have enough room around your waist but place its waist seam several centimetres away from where you want it. Changing from one shape name to another will not move that seam. Trying a different length range or bodice proportion is a more direct experiment.
You can leave the category blank. If deciding between two labels makes you less certain about clothes you already like, return to the practical record. You are looking for ways to reduce trial and error, not a verdict that must explain every outfit you have ever worn.
Turn your observations into a fitting-room test
Choose a question small enough to answer with two garments. To explore waist definition, compare a straight dress with a similar dress that has a waist seam or adjustable tie. Keep fabric weight, length and sleeve style as similar as possible. Otherwise you may prefer the softer fabric and mistakenly attribute the difference to the waist. Notice whether you like the outline and whether you can sit, reach and walk comfortably.
For trousers, compare two cuts that fit the hips and thighs, then inspect the waistband. If one gaps at the back and the other follows your waist, look at the cut description and construction rather than awarding the better pair a body-shape label. A contoured waistband or a different hip-to-waist proportion may be the useful detail. Trying the same cut in an adjacent size can help distinguish a size issue from a pattern issue.
For tops, start with the shoulders and armholes. Compare a neat shoulder seam with a deliberately dropped shoulder, then check what happens when your arms reach forward. A larger size may add unwanted length without giving the right room through the upper back. A different sleeve or armhole design may solve the problem more cleanly. Comfort is evidence, even when a mirror image looks appealing.
Use the same shoes and underwear for comparisons that depend on hem length or bodice fit. Take a front and side photo only if it helps you remember, and note what felt good as well as what looked good. “Sleeves stay comfortable at a desk” is a stronger reason to buy a blouse than a checklist saying your category should wear it.
Keep a record of what actually fits
Build a short fit note from clothes you reach for repeatedly. Record the brand, cut, size, fabric description and any alteration, together with one sentence about why the garment works. Include actual garment measurements where useful, such as the flat waist width of favourite trousers or the back length of a jacket. Labels vary between brands, so a size alone is a weak reference for a future purchase.
Add unsuccessful trials with the same precision. “Did not suit my shape” closes the investigation too early. “Waist seam too low; skirt comfortable; shoulders correct” tells you what to try next. You might need a shorter bodice, a different waist placement or a dress without a fixed seam. That is a manageable search even when you have no category at all.
Separate fit from personal style. You can like an oversized silhouette, a low waist or a very straight dress regardless of the proportions a guide recommends. A garment can fit its intended silhouette and still be outside your taste; another can need a minor alteration and become a favourite. Keep a note of colour, texture and styling preferences beside the fit record so that a good technical fit does not become your only buying criterion.
Revisit the notes when the clothes stop explaining your needs, or when you shop for something new such as tailored workwear. There is no benefit in measuring on a schedule just to check a label. The useful result is a smaller, clearer set of experiments: enough hip room, the waist position you enjoy, sleeves that let you move and an outfit you want to put on again.