A useful set of clothing measurements should make shopping less mysterious. You need a few repeatable numbers, a clear idea of where you took them and a way to compare them with the particular garment you want. Whether you are learning how to measure body shape or ordering your first tailored trousers, gentle tape placement and the correct chart matter more than collecting dozens of figures.
Set up a repeatable measuring session
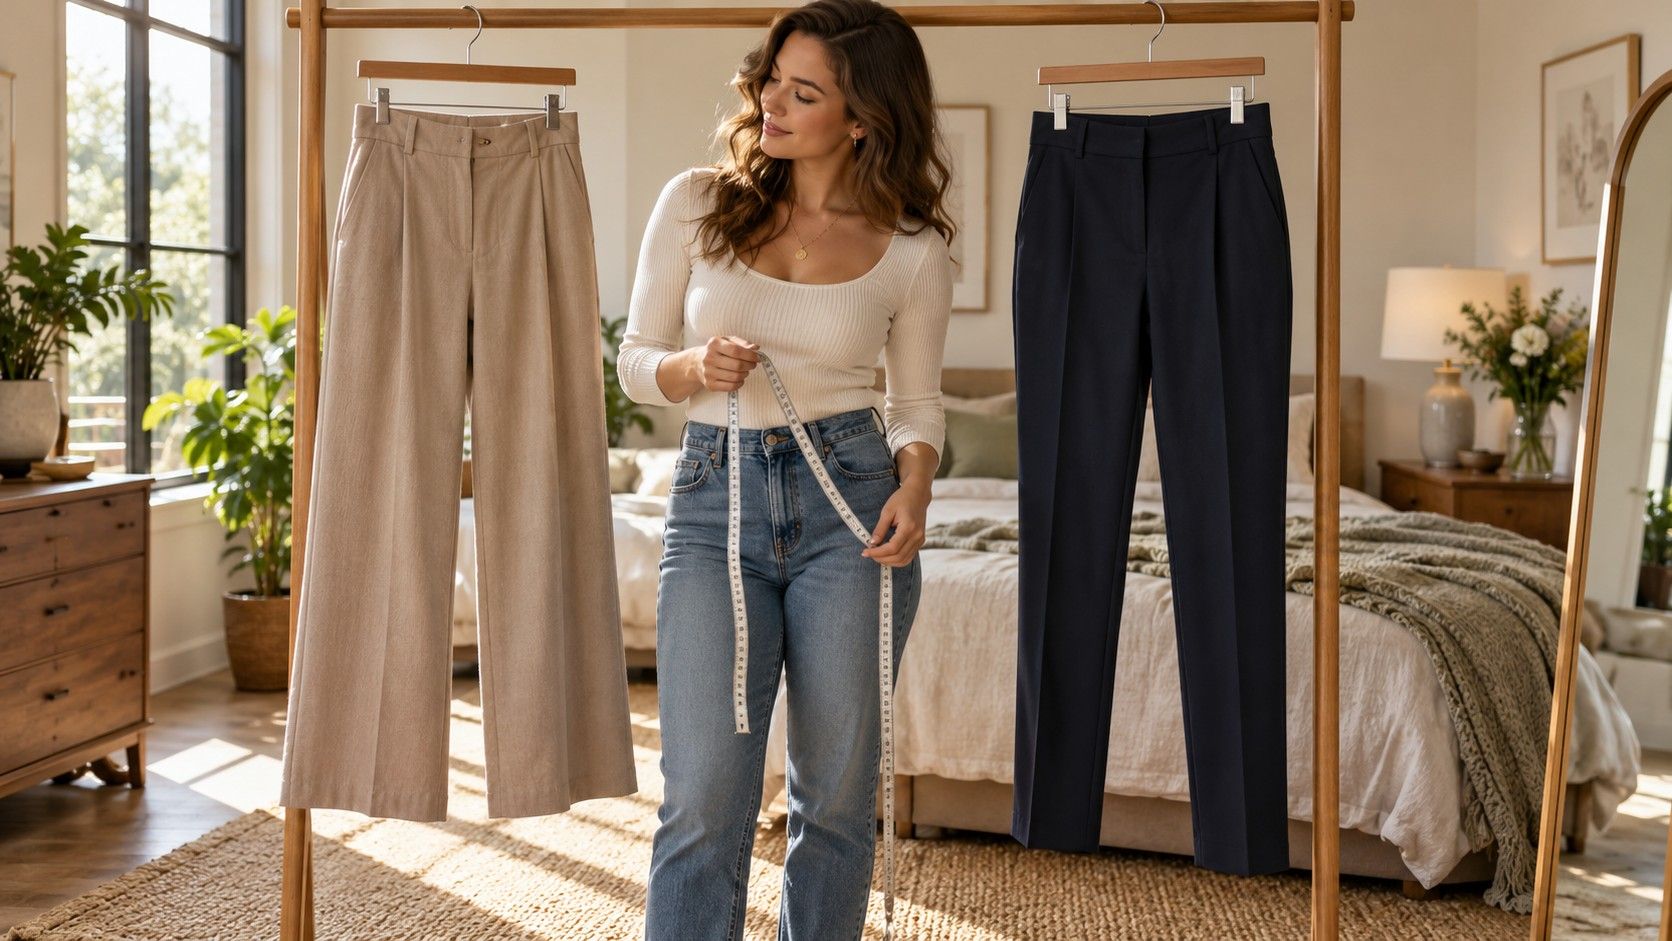
Choose a flexible dressmaking tape whose markings are easy to read. A rigid building tape will not follow your body comfortably. Have a mirror nearby, or ask someone you trust to help check the tape across your back. Keep a note open with separate columns for the measurement name, number and unit. A carefully measured waist is little help later if you cannot remember whether it was recorded in inches or centimetres.
Wear the underwear or thin base layer you would normally use with the clothes in question. A padded bra can change how a blouse sits, and bulky pockets can alter a hip reading. Empty pockets and remove a thick belt. You do not need shapewear unless that is what you actually intend to wear under the garment. The aim is to record the body the clothing will meet in ordinary use.
Stand in your normal posture, with your weight comfortably distributed. Breathe normally; do not pull in your stomach or straighten into an unfamiliar pose. Bring the tape into contact without compressing soft tissue. Check that it has not twisted. If you are measuring yourself, lifting an arm to see the tape can shift it, so lower your arms before asking a helper to read the result or checking in the mirror.
Take each reading twice, lifting the tape away between attempts. If they disagree, look for a tilted tape, a different measuring point or a change in posture. Do not average two clearly different placements. Write a small location note instead, such as “hips at fullest seat” or “waist following brand diagram”. This makes a later repeat more useful than a number remembered without context.
Measure bust waist and hips gently
For bust circumference, pass the tape around the fullest part of the bust and across the back, keeping it approximately level. Let your arms rest at your sides for the final reading. If you are shopping for a fitted bodice, use the bra you plan to wear beneath it. This measurement is a clothing reference, not a bra-size calculation; bra fitting uses additional measurements and its own conventions.
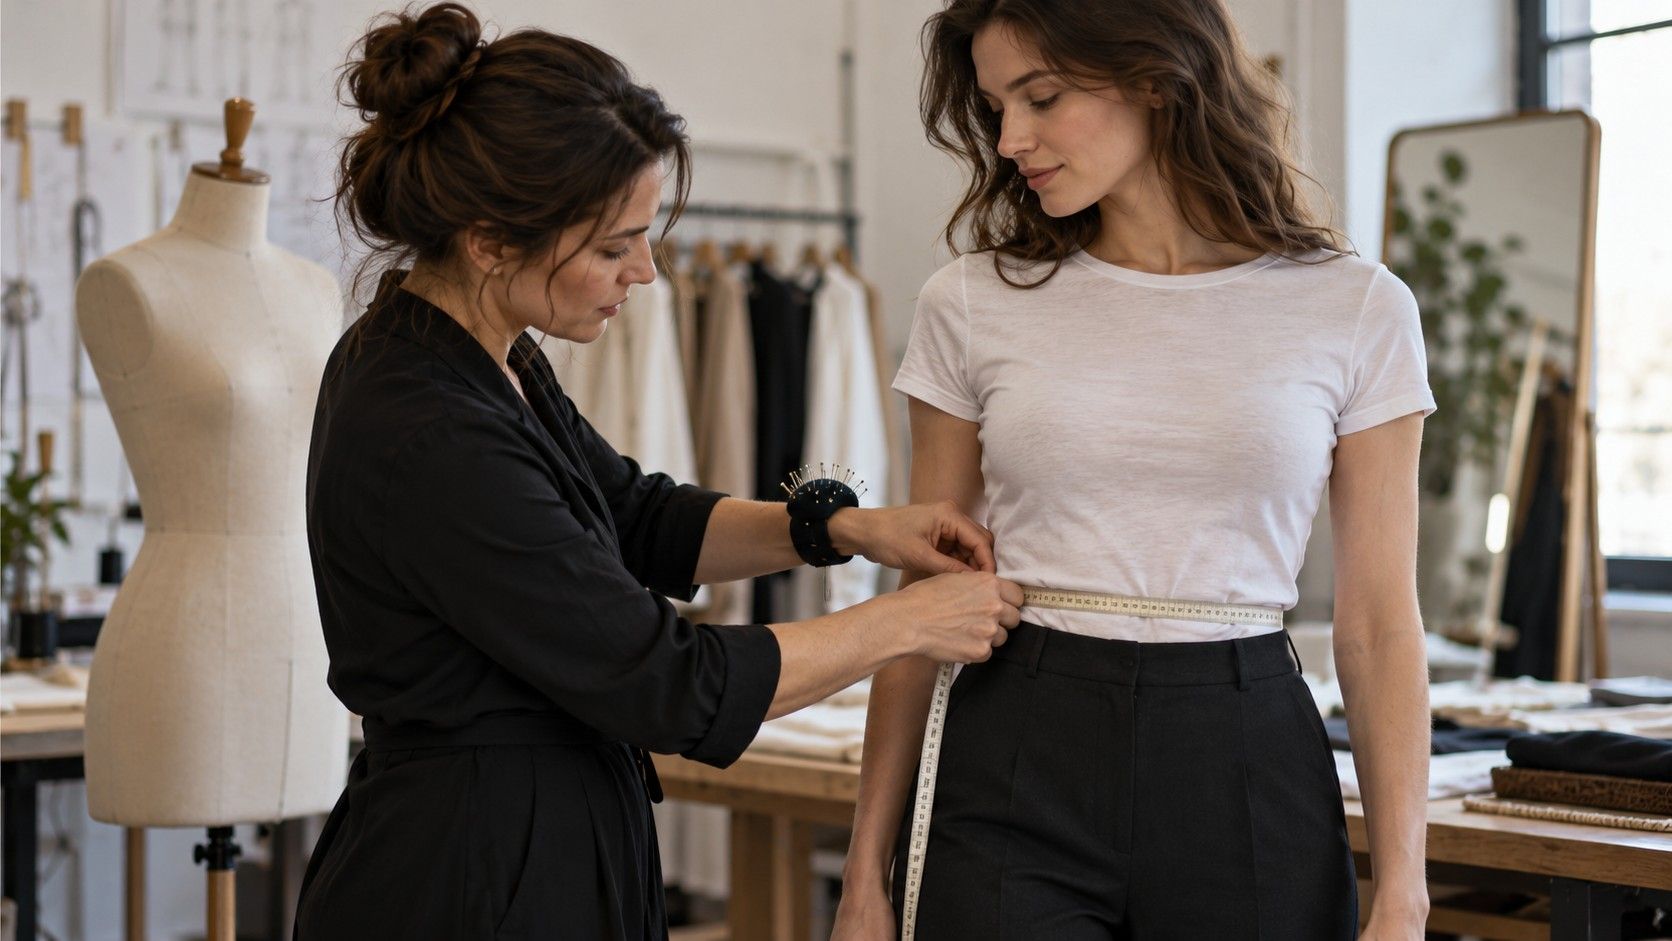
For the waist, follow the exact location shown by the retailer or sewing pattern when one is provided. Many charts use the natural waist, often around the narrower area of the torso, but the narrowest place is not equally obvious on everyone. A soft ribbon tied loosely where your torso bends can help you locate a consistent line. Do not assume the waistband of your jeans marks the point the chart expects.
For hips, take the tape around the fullest part of the hips and seat, keeping your feet in a comfortable, repeatable stance. Check the side and back view to see that the tape is level and includes the fullest area. Move it a little higher and lower if you are unsure where that is. You are looking for the circumference the garment must accommodate, not the smallest reading you can produce.
Some garments require additional points, such as a high hip measurement closer to the waist or a bicep measurement for a fitted sleeve. Use the supplied diagram rather than guessing what a term means. Where a skirt or trousers sit below the natural waist, a separate circumference at the intended waistband can be helpful. Label it clearly so you do not accidentally compare it with a natural-waist chart.
Separate shoulder width from bust circumference
A tape around the bust does not tell you how wide a jacket should be across the shoulders. It includes the bust and back in a full loop. Shoulder width is a separate length, and brands may describe or measure it differently. Some garment charts measure across the back from one shoulder seam to the other; a made-to-measure form may ask for anatomical points. Those figures cannot be swapped casually.
If the retailer gives a garment shoulder measurement, compare it with a similar well-fitting garment laid flat. Keep the garment unstrained and use the same seam points shown in the instructions. A dropped-shoulder sweater is a poor reference for a tailored blazer because its shoulder seam is designed to extend beyond the shoulder. Match construction before deciding whether a figure is too large or small.
Record lengths for garments that repeatedly miss the mark. Sleeve length, back length, inside leg and the position of a waist seam may be more useful than another circumference. A tape from shoulder to waist needs a defined starting point; an inside-leg measure needs a defined endpoint. Follow the seller's method and note whether your reference came from your body or an existing item of clothing.
Suppose shirts close comfortably at the bust but restrict you when reaching for a steering wheel. Increasing the bust allowance might help, but the upper-back width, armhole shape or sleeve construction may be the real issue. Use the measurement to narrow your search, then test movement. A complete set of numbers still cannot describe how a particular armhole behaves.
Read a size chart with garment ease in mind
First establish whether a chart lists body measurements or finished garment measurements. A body chart tells you which wearer measurements a size is designed around. A garment chart tells you the dimensions of the actual item. They are different documents. A woven shirt usually needs space beyond your body circumference so that you can breathe, reach and sit, while a stretchy close-fitting top may be designed with different allowances.
That difference between body and garment dimensions is called ease. Wearing ease allows movement; design ease creates an intended silhouette such as an oversized shirt. There is no single extra amount that works for every fabric and garment. A structured coat worn over a sweater needs different room from a fitted jersey top. Use the brand's fit description and a comparable piece you own rather than adding the same allowance to every chart.
For a flat garment measurement, check whether the chart shows the width across one side or the full circumference. A flat waist width is often doubled to estimate circumference, but only when the method and garment shape support that comparison. Elasticated waistbands may be shown relaxed and stretched. Neither figure alone promises comfort, because the firmness of the elastic also matters.
If your bust, waist and hips fall in different size columns, consider where the garment is fitted. For a non-stretch pencil skirt, the fullest hip and seat need enough room; a waist can sometimes be adjusted. For a loose swing dress, the bust and shoulders may be more relevant than a generous skirt. Before assuming an alteration is simple, inspect seams, closures and lining or ask a tailor with the actual garment in hand.
Use measurements when shopping online
Start with the product-specific chart, then read the fabric composition, stretch description and fit notes. A general brand chart is useful, but it may not explain a cropped cut, a very high waist or an intentionally oversized coat. Compare with a similar garment you already wear comfortably. Record its size, fabric and measurements so you can tell whether you are comparing a soft knit with a soft knit or asking stiff denim to behave like jersey.
Take favourite trousers, fasten them and lay them flat without stretching. Following the seller's measuring diagram, compare waist width, rise and inside leg. A similar waist figure with a very different rise may place the waistband at a different point on your torso. That can explain why two pairs with matching labelled sizes feel unrelated. Treat the collection of measurements as a pattern, not a search for one winning number.
Keep uncertainty visible. If a retailer omits garment length or does not explain whether its chest number is a flat width, ask before ordering a costly item. Check return conditions while the information is available. Measurements reduce avoidable guesses; they do not remove the need to try clothes. Fabric weight, seam placement and the way you like a garment to hang remain part of the decision.
After a purchase, add a short result to your notes: “hips comfortable, waist loose when sitting” or “sleeves short with arms forward”. Retain the useful reference pieces and discard measurements taken by unclear methods. A small record built from successful clothes is easier to use than a long list with no context. When your needs or the intended garment change, take the relevant measurements again with the same gentle method.